Welcome to Email Defense!
WARNING: Do not use the SpamAssassin junk filter and the Advanced Spam Quarantine & Virus Filter at the same time. You will need to disable one if you intend to use the other.
Note: If you would like Domain Level Access for your Email Defense system, please open a ticket through your Client Area or send an email to brand and a representative will set this up for you within 24 hours.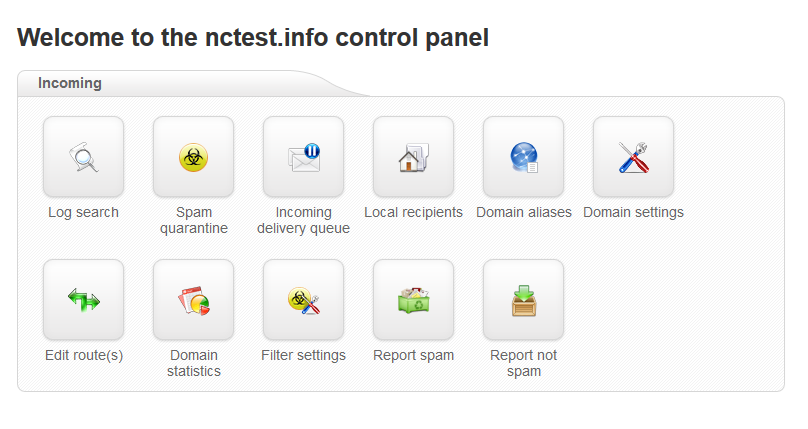
Log search
With the help of Log search it is possible to view the log of received, blocked or temporarily rejected emails. You can search the log for the incoming email based on such criteria as subject, sender and recipient of the email, sender/hostname, destination IP and others.Once the necessary options are inserted, click on Start search to get the logs.
NOTE: by default the connections logged are accessible for the last 28 days.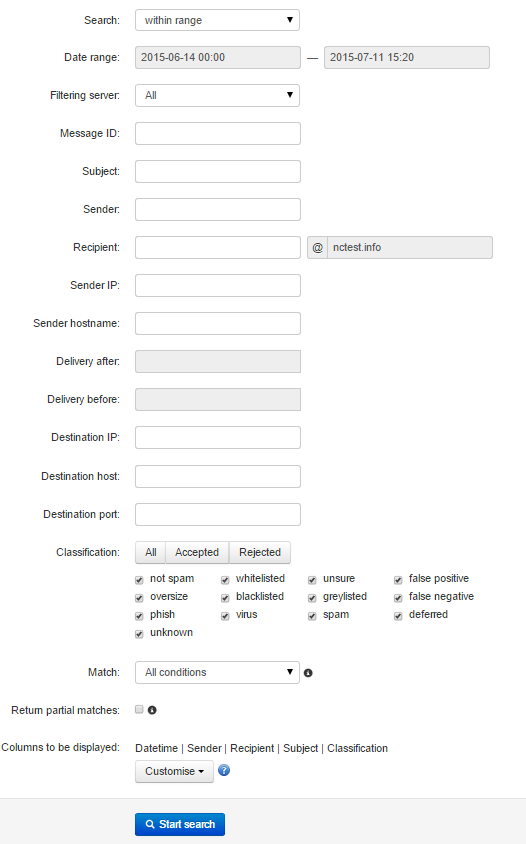
You will get the list of the logs for the specific incoming emails. It is possible to Check delivery status and Error details of the email using the drop down box on specific email: 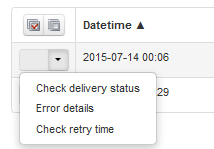
If the email is Rejected or Temporarily rejected, you will see the corresponding status and reason under column called Classification. Email with the status Accepted has not necessarily been delivered, it means the email has been accepted for delivery only. In case delivery fails, it will be retried automatically. But when the destination server rejects the incoming email, the sender will get a bounce back email:
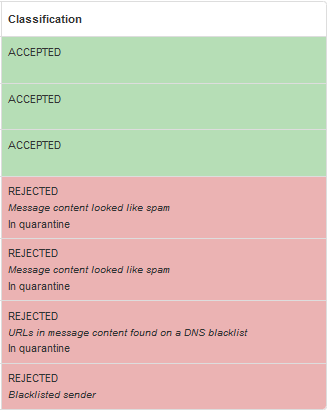
NOTE: you can find and train the rejected emails in Spam quarantine section (more details can be found in the next section). In case the spam email has been accepted by SpamExperts, you can report these emails as spam.
Spam quarantine
In this section you can check all incoming quarantined emails that are stored for 28 days by default and then purged. Here you can search the emails by Subject, Sender or Recipient and Empty spam quarantinebeforehand if necessary:
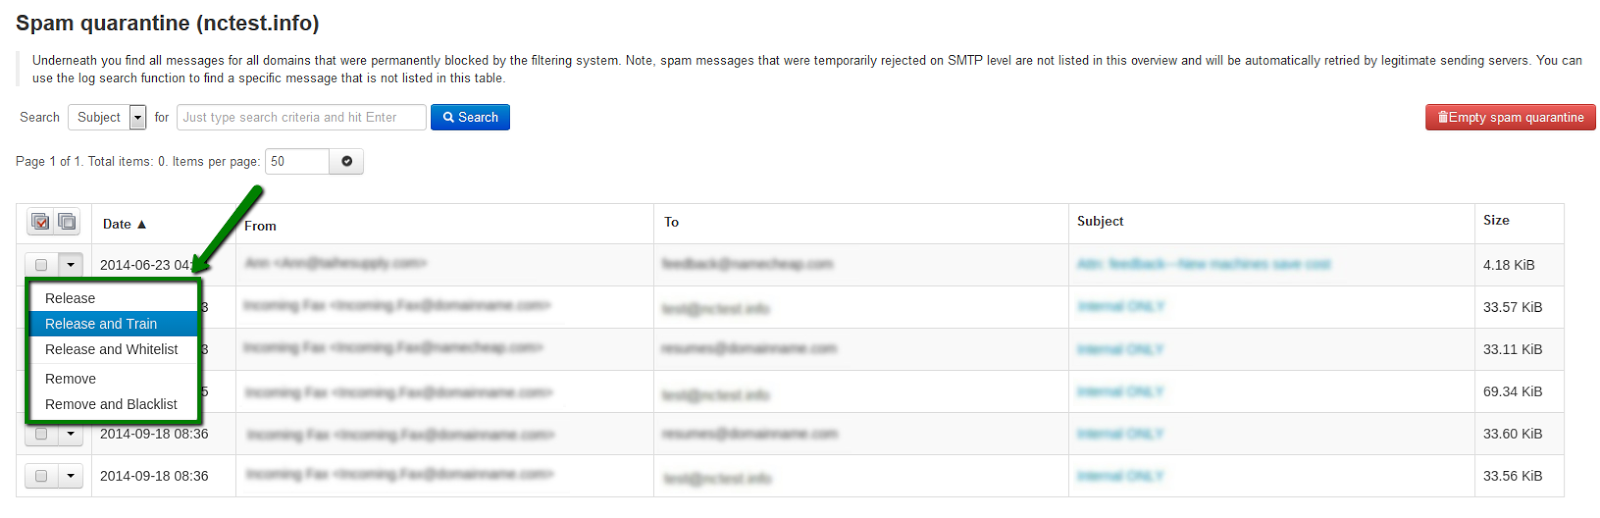
It is possible either to release or remove the emails:
- Release and Train option will deliver the email to the recipient and train it as not spam in SpamExperts system.
- Release option will release the email from the quarantine and it will only deliver it to the necessary recipient.
- Release and Whitelist option will deliver the email to the intended recipient and automatically add sender's email address to Sender Whitelist.
- Remove option will delete the email from quarantine.
- Remove and Blacklist option will delete the email and automatically add sender's email address to Sender Blacklist.
In order to view the headers and full raw content of the quarantined email, click on email subject. Then choose Raw tab and click on Load raw body at the bottom of the headers:
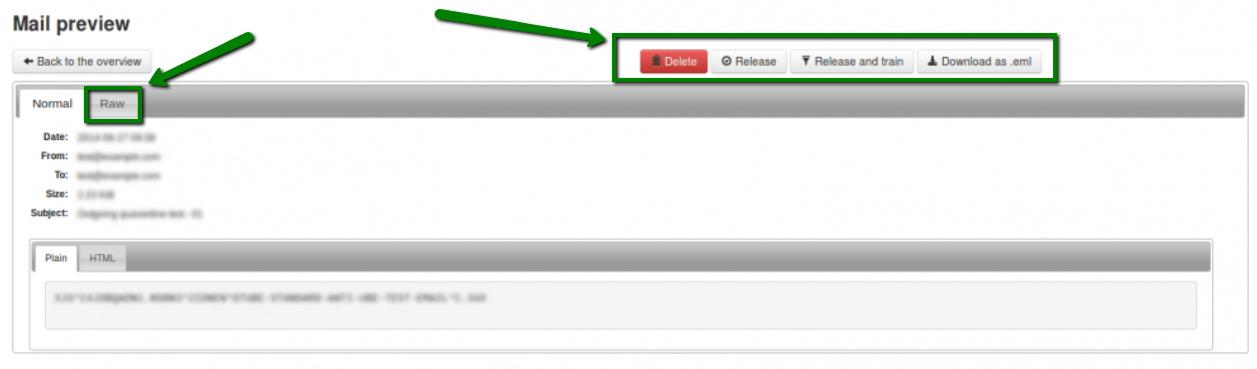
Also, it is possible to check the reason for the blocked email, simply look for Evidence line in the raw header and then compare it with logs from classification page.
At the top of the raw headers page you can find the option Download as .eml that allows you to download that specific spam email in .eml format so that you can afterwards report it as spam and train the spamfilter.
NOTE: unlike the other spam protection systems, SpamExperts stores all mail logs and spam emails on its own server. Thus, at the moment the only way to check incoming spam emails of your email account is to access SpamExperts account itself.
Incoming delivery queue
Here you can find the list of incoming emails that cannot be temporarily delivered to the server. The emails queued can be filtered by the following criteria: sender, recipient, size, time, message ID etc.:
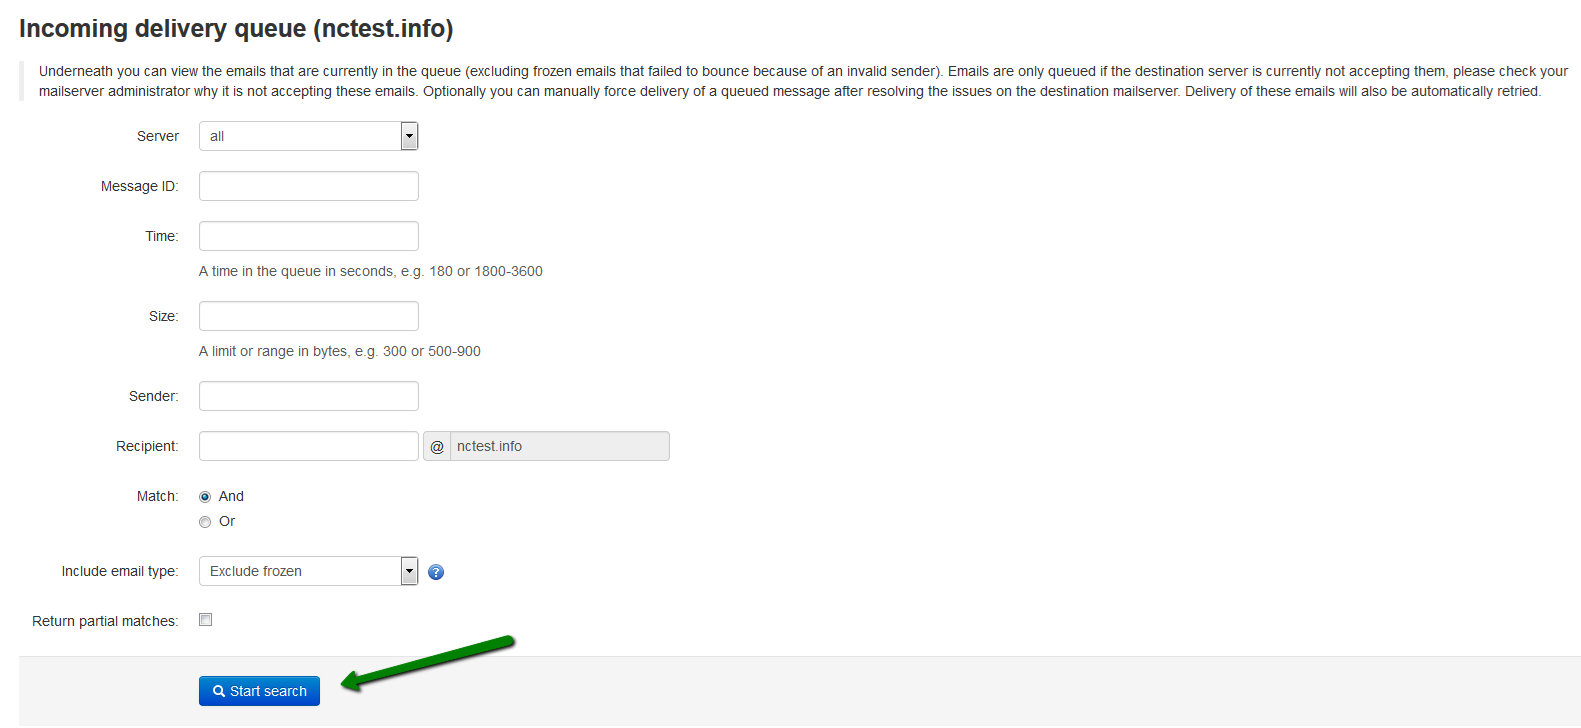
There are the following options for the filtered emails:
- Force retry option will retry to deliver the email.
- Delete option will delete the email from the queue.
- Delete and report as spam option will delete the email from the queue and report it as spam to the training server.
- Error details option will check the reason why messages are stored in Delivery Queue.
- View option will allow you to check the headers of the queued email.

Email address aliases
In this menu you can create aliases for your email accounts. Specify the existing email account name in Email address field and and alias you wish to have for it in Email address alias field, then hit Add: 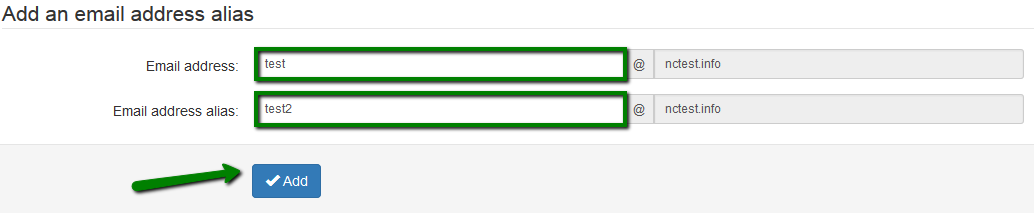
In such a way, all the emails sent to test2@nctest.info email address will be automatically redirected to test@nctest.info account.
Note, that it is impossible to send emails from an alias address. For these purposes you will need to create a fully-fledged email account in your cPanel.
Domain aliases
This option will be useful if you have multiple domains in your cPanel account. Any email sent to the domain alias will be delivered to the same user on the main domain: 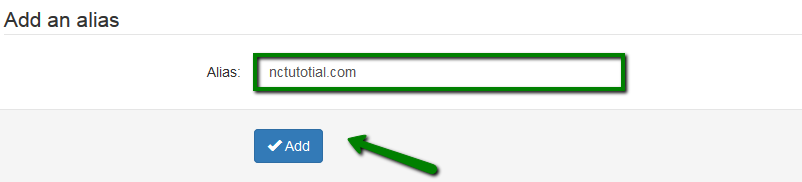
Thus, if you send an email to test@nctutotial.com, it will be delivered to test@nctest.info account. Note, that alias domains don’t have separate access to the webmail.
And if you searching for a specific email sent to a domain alias using the log search, the recipient will therefore show as
Domain settings
In this section you can manage the settings for the particular domain: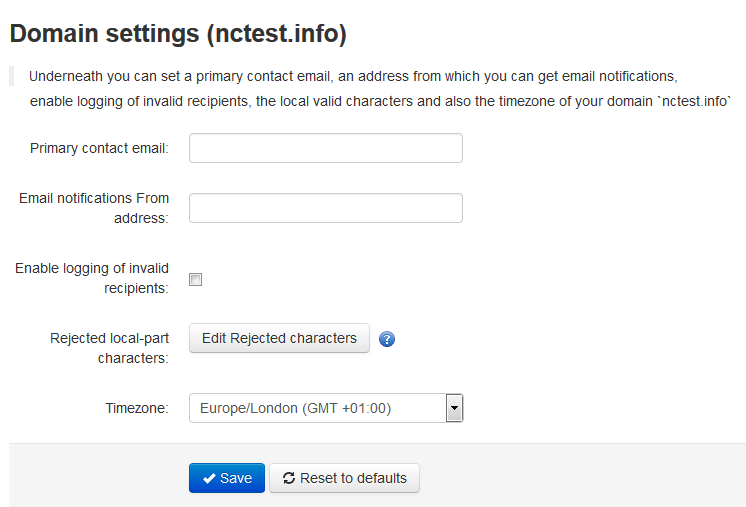
Domain settings include the following:
- Set Primary Contact Email for your domain.
- Enable Email notifications From address that will allow you to get notifications from this email address (e.g. when the particular email is put into quarantine).
- Enable or disable logging for invalid recipients option allows or does not allow the selected domain to log details of incoming mails addressed to incorrect recipients.
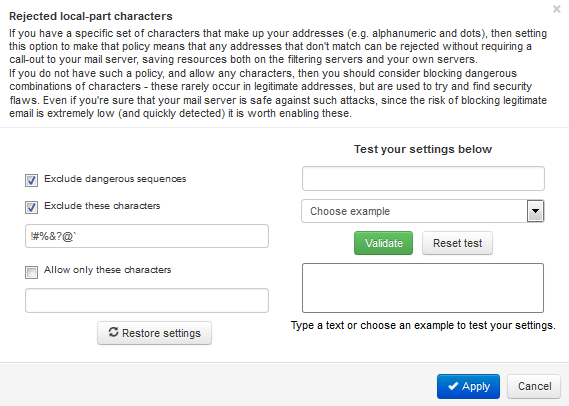
- Add Rejected local-part characters that include the characters allowed in local part (before @part of email address). If you remove the character here, it will be allowed in local part, and vice versa:
- Set the necessary Timezone.
Edit route(s)
With this menu you can edit, add to remove the routes and change their order. The hostname or IP address specified in route defines the destination mail server SpamExperts will forward email to after filtering. It is possible to have a few email routes. In order to add a new route, click on Add a route button and insert the server hostname, IP address that is pointed to our server your mail is hosted on, submit the field with SMTP port and click Save: 
NOTE 1: a domain always needs to have at least one route in order for the filtering machines to deliver the clean emails, therefore, you are not allowed to remove the only route in this section as the new one should be created first and then you will be allowed to remove the old one.
NOTE 2: if there are temporary problems with the first route, the system will automatically try to deliver the email to the second one, then the third one and so on. In case there are permanent failures with a route, the emails will be put into email queue and SpamExperts will not try the next route. Therefore, it's crucial to have the hostname indicated in route resolved to the correct IP address.
NOTE 3: it is possible to change the order of your routes by drag dropping them to the right position in the list.
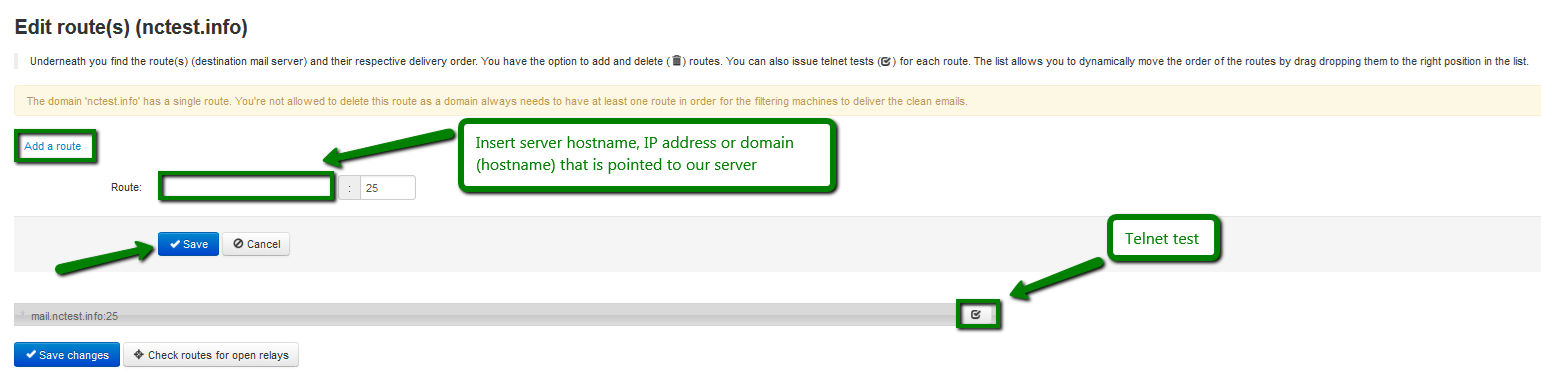
Also it is possible to run Telnet test by clicking on corresponding button next to your destination route. By performing telnet test you can verify if the recipient's email address exists on the destination mail server specified in chosen route. The following dialog box will appear, here you need to enter the sender and recipient email address:
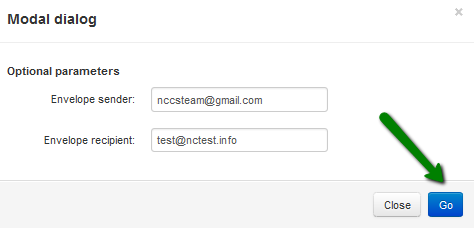
Once done, click Go to start telnet test. Below you can find an example of Telnet test results:
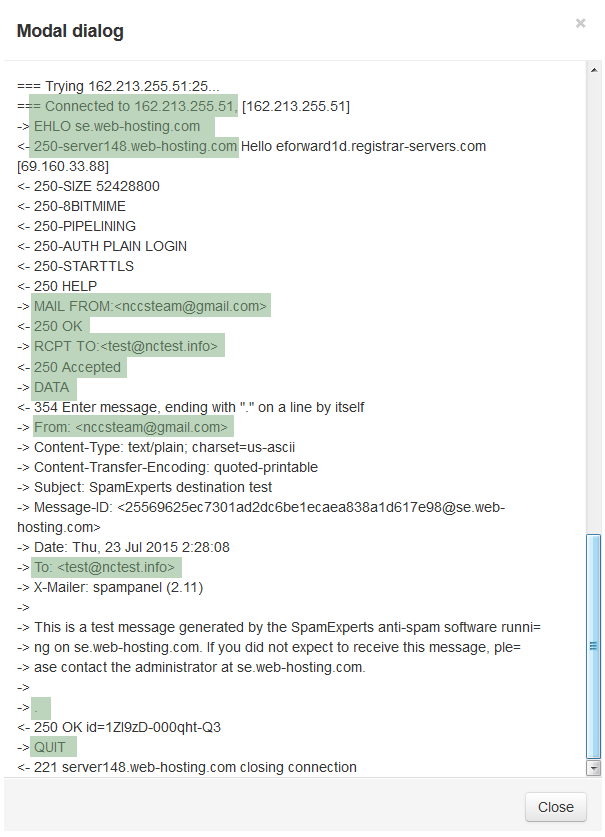
In the example above an email is sent from nccsteam@gmail.com to test@nctest.info.
The senders e-mail address is specified by the MAIL FROM command and the recipients e-mail address is specified by the RCPT TO command. MAIL FROM command also tells the SMTP server that a new mail transaction is starting. This command is usually sent as the first command after the identifying and login process.
When the senders e-mail address is accepted the server will reply with a 250 OK reply code (like in our example). The DATA command informs the server that now will the message data be sent (e-mail header, body text etc). The single dot below the message contents informs the SMTP server when the message data ends. After a single dot has been sent to the server and the server has responded, a QUIT command is sent to terminate the session.
Domain statistics
In this menu you can check statistics for your domain for specified time frame (days, weeks, months or years) and set start and end dates for the necessary period of time: 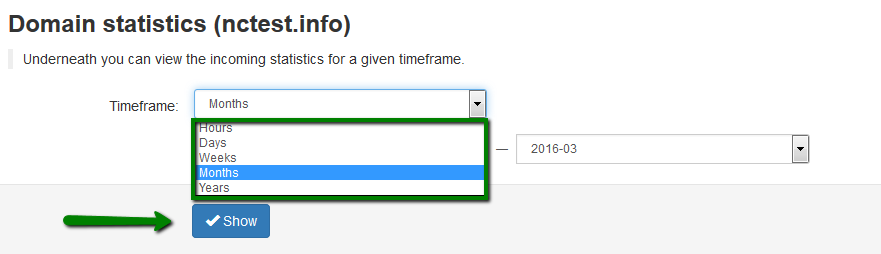
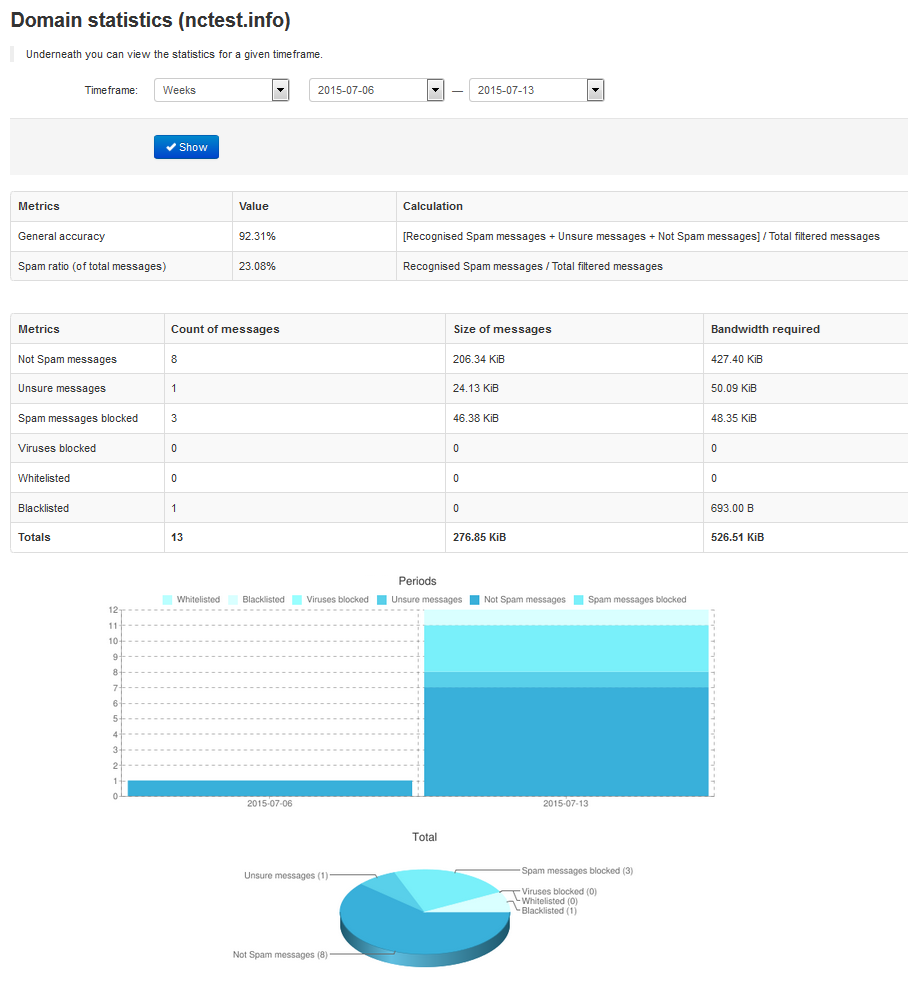
Statistics are displayed for:
- General accuracy
- Spam ratio (of total messages)
- Not Spam messages
- Unsure messages
- Spam messages blocked
- Viruses blocked
- Whitelisted messages
- Blacklisted messages:
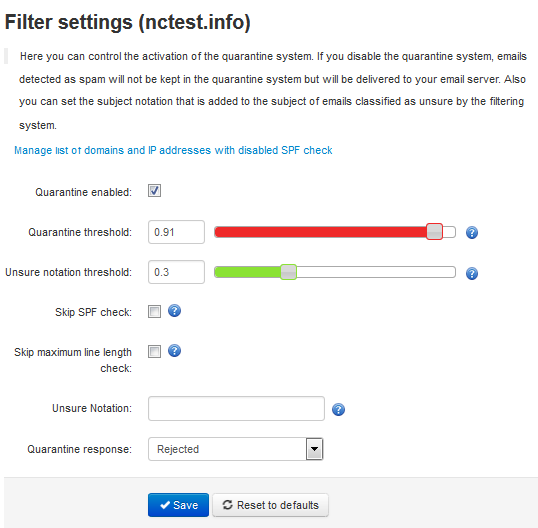
Filter settings
In this section you can control filter settings for the domain and its users. If the Quarantine enabled option is turned off, the spam emails will be delivered to your inbox and will not be kept in quarantine system.
The following items can be changed here:
- Quarantine threshold: set a minimum score that email must get in order to be classified as spam by the content analysis portion of the filter. The score ranges from 0.0 (certainly not spam) to 1.0 (certainly spam), so the higher this is set, the more likely you are to receive false negatives, and the less likely you are to receive false positives. It is set to 0.91 by default in order to avoid any possible mail delivery issues.
- Unsure notation threshold: set the minimum score that email must get in order to be classified as unsure (and therefore notated) by the content analysis portion of the filter. The score ranges from 0.0 (certainly not spam) to 1.0 (certainly spam). This must be lower than spam threshold. The default value is set to 0.3.
- Skip SPF check: SPF is a common technology that allows the sender to indicate which IPs are allowed to deliver the email from the sender domain. This check can be disabled by ticking the box, however it is recommended to make it enabled to block spam.
- Skip maximum line length check: there are strict regulations on allowed line length in emails, which are automatically enforced by the email software. Some applications or badly developed scripts do not adhere to the official specifications thereby exceeding the maximum allowed line-length. This check can be disabled by ticking this box, however we recommend to keep it enabled to block spam.
- Unsure Notation: pre-pend this tag to the subject of emails which the filter could not strongly classify as not spam or spam. You need to leave this field empty not to prepend the emails. It is necessary to ensure the email are considered legitimate emails, you can use this tag to have them stand out and to report them as spam/not spam to further improve effectiveness of the filter.
- Quarantine response: you can set this option if you do not want senders to receive a bounce back email when their email gets blocked or quarantined. If this option is set to Accept the email, the SMTP response would be 2xx accept (the email has been accepted for delivery) however it will still be blocked and shown in the Spam Quarantine. Since that technically breaks with the SMTP RFC specification, it's not recommended:
Report spam
This option allows you to report spam emails and as a result train spamfilter. You can upload an example of spam email in .eml format including the full headers and SpamExpersts additional headers: 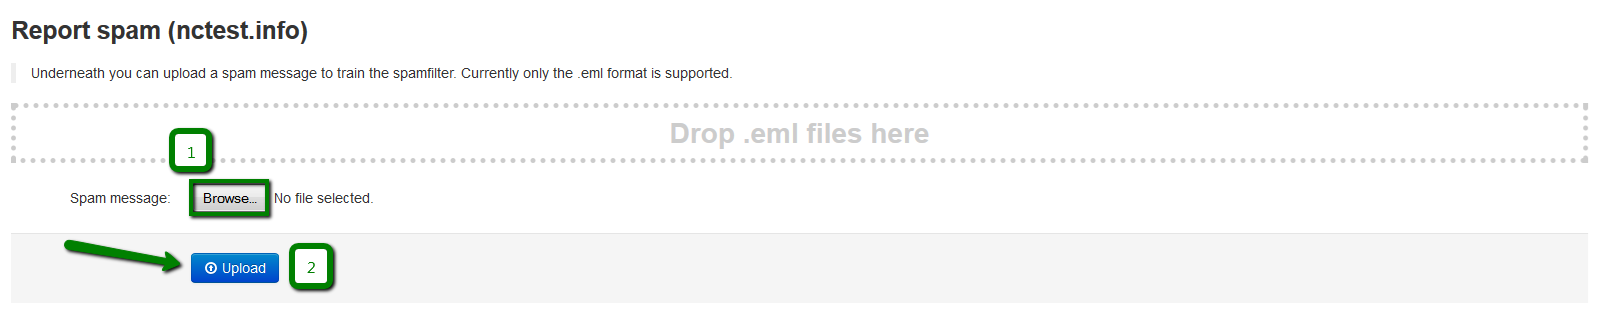
NOTE: you can upload any .eml file you consider as spam, but if this email has never passed through SpamExperts filter you will get a warning The message you have uploaded never passed through our spamfilter. Feel free to disregard it and proceed with .eml file upload.
Report not spam
With this option you can report non-spam (ham) emails for training spamfilter. You can upload an example of ham email in .eml format including the full headers and SpamExpersts additional headers: 
NOTE: you can upload any.eml file you consider as ham, but if this email has never passed through SpamExperts filter you will get a warning The message you have uploaded never passed through our spamfilter. Feel free to disregard it and proceed with .eml file upload.
Clear callout cache
In this menu you can manually clear the domain’s callout cache. That will be quite useful to be cleared after changing the domain routes,DNS records and for removing the bad/good responses from the destination mail server: 
4.2 OUTGOING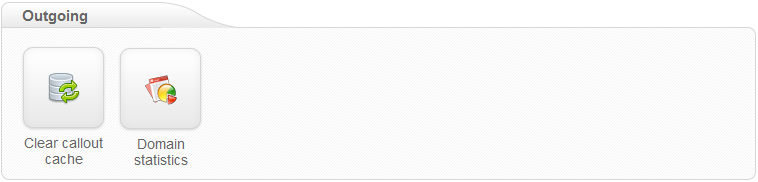
- Clear callout cache
- Domain statistics
Clear callout cache
This option allows you to clear the callout cache for an outgoing domain: 
Domain_statistics
4.3 EMAIL RESTRICTIONS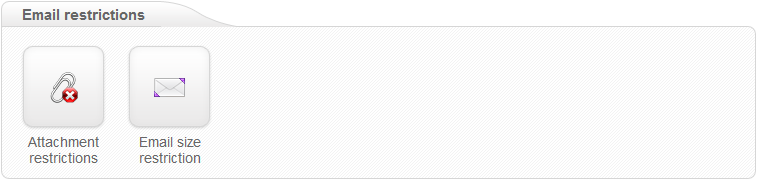
- Attachment restrictions
- Email size restriction
Attachment restrictions
With the help of this menu you can specify which emails should be blocked based on the extensions of the files attached to the email. Below you can find a list of default extensions you may enable but also you can add your own extension types: 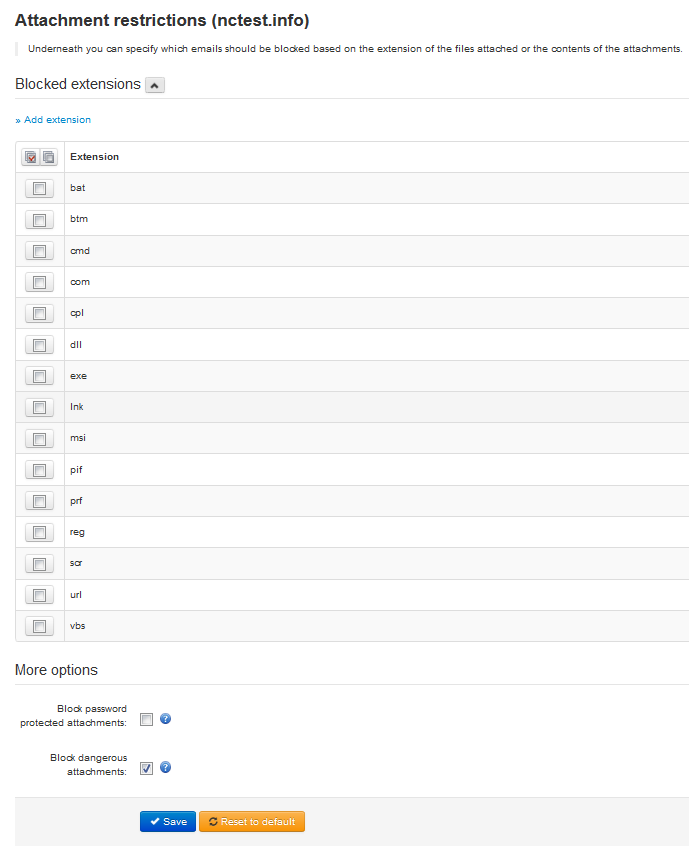
If the email contains the file or attachment with blocked extension, the email itself will be blocked too and placed in Spam Quarantine. Additional options include:
- Block password protected attachments option that determines whether the system will block the emails with the attachments that are password protected like zip files.
- Block dangerous attachments option that allows you to control whether attachments that contain executable files will be rejected or not. Keeping this option disabled you may expose your system to viruses.
Email size restriction
By default the system uses the email size set by destination mail server, however in this section you can specify the maximum email size limits for incoming mail to be accepted by filtering system. After that you can choose the action should be taken for the oversized emails: either to be placed in quarantine or to be rejected: 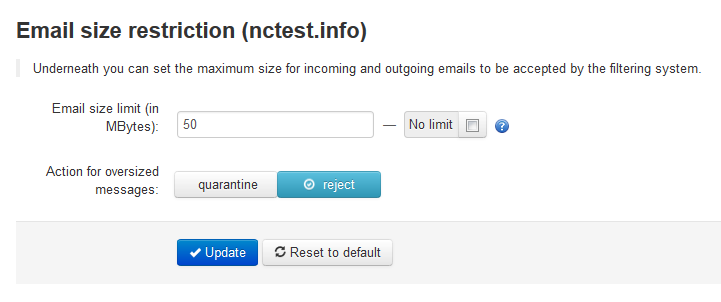
4.4 WHITELIST/BLACKLIST
This menu allows you either to whitelist or blacklist sender's email address or a full domain. All spamfiltering checks are disabled both for whitelisted and blacklisted senders. Emails sent from the whitelisted senders will be surely delivered to Inbox folder of your email account, while incoming emails from senders listed on the blacklist will be automatically rejected. Note, that such messages will not be quarantined, but rejected with a 5xx SMTP error code, so legitimate sending SMTP servers will generate a bounce message to the sender.
In order to whitelsit/blacklist the desired email account, simply add it to Email Address/Domain field and click Save: 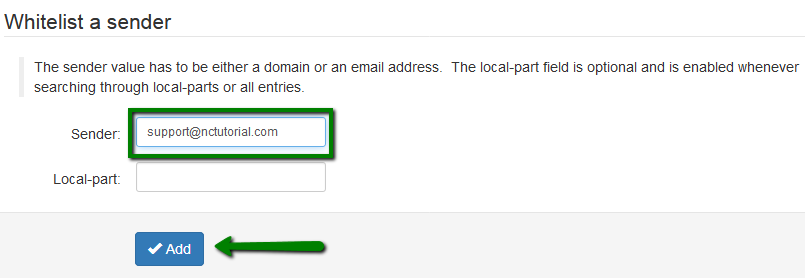
If you wish to whitelsit/blacklist all the email accounts associated with some domain name, feel free to specify this domain in Email Address/Domain field: 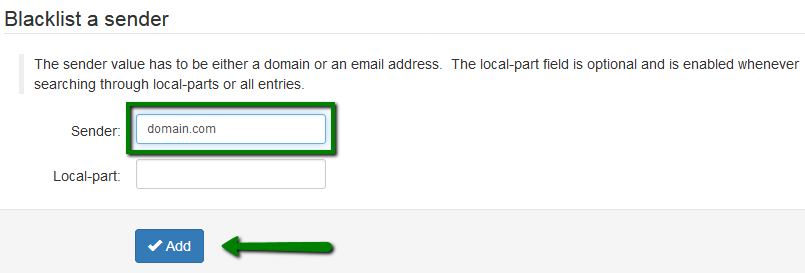
4.5 WEBINTERFACE USERS
- Manage email users
- Manage permissions
Manage email users
On this page you can create and manage email users, connected with your domain name.
Click Add button in order to add more users to SpamExperts Dashboard: 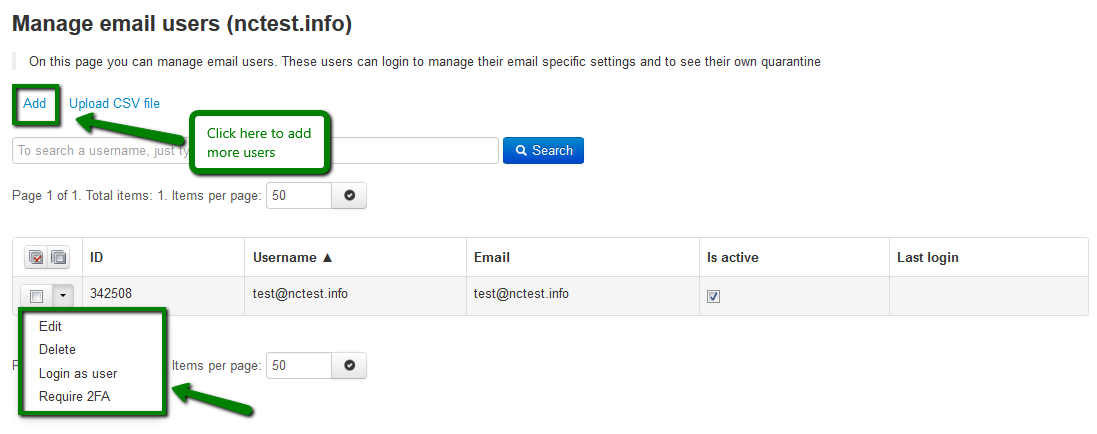
Before email user creation you need to make sure that the domain you are creating the email for already exists on the server, and when setting the password for the user, it must contain at least one upper case letter or one digit, no spaces, and must be 6-25 characters in length: 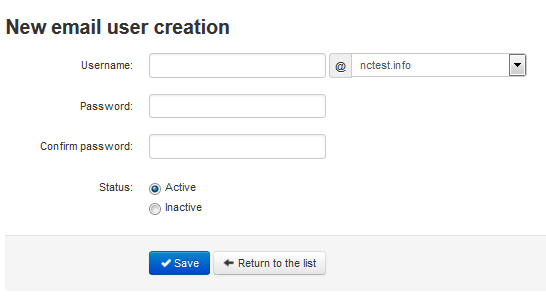
The created users can log in to SpamExperts Dashboard with these details, manage their specific mail settings and check their quarantine. On Manage email users page you can also do the following:
- Edit the user details (username and password).
- Delete email account from SpamExperts Dashboard.
- As a higher level user, you have ability to Login as user to particular account.
- Enable Two-Factor authentication for user.
Manage permissions
In this section you manage permissions for available sections in User's SpamExperts Dashboard. Each of them usually can be accessed via 4 possible HTTP methods:
- GET method is used for viewing data.
- POST method is used for new entries creation.
- PUT method is used for existing entries modification.
- DELETE method is used for entries deletion.
On this page you may control permissions for users managed by you: 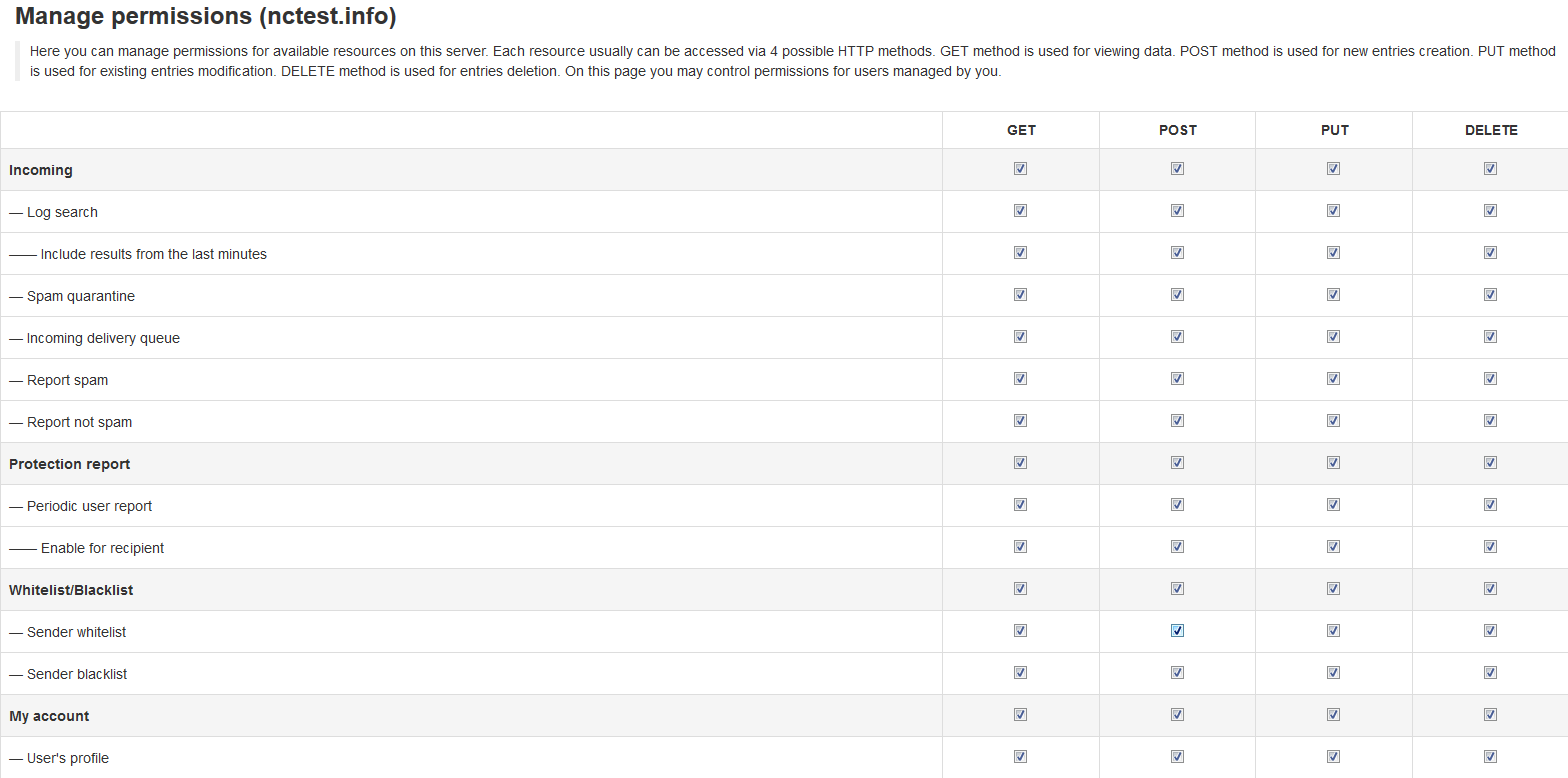
4.6 MY ACCOUNT
User's profile
Here you can manage the settings for your account: change contact email address or password, enable/disable Two-Factor authentication in order to increase security of your account: 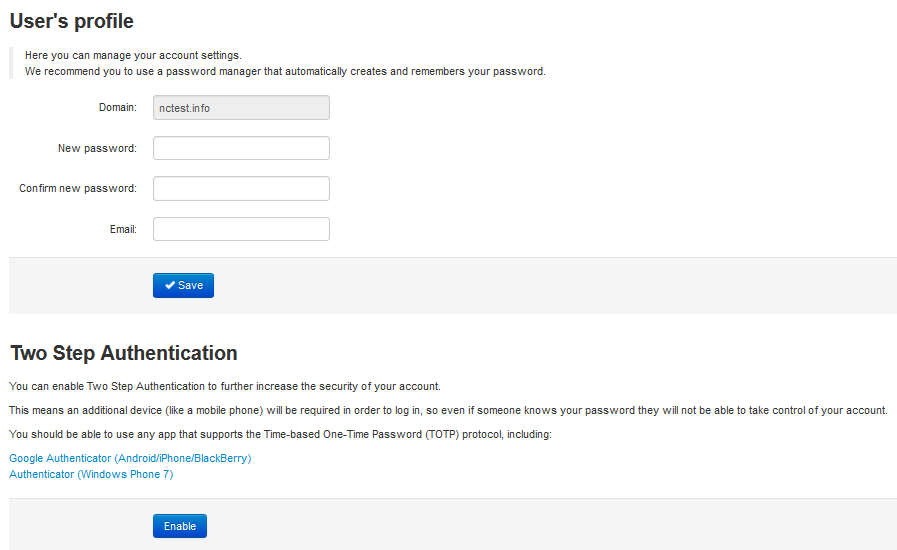
5. HOW TO DEAL WITH MAIL ISSUES DURING ACCOUNT TRANSFER
During account transfer from one server to another one, it is very important to keep your mail service working and SpamExperts filtering and routing your emails to the new server (if your hosting account is already activated there. In order to achieve this, it is necessary to perform one basic step: to make your route on the old server use the hostname or IP address of the server your account will be moved to.
Once your account is transferred to the new server you need to make sure that email route settings are updated as well, otherwise SpamExperts will filter the emails and forward them to the old destination mail server indicated in email route, where account is no longer active. As a result, the sender will get a bounce back message that a sent email has not been delivered.
If you wish to avoid any downtime of mail service and get all the emails sent during the transfer to your inbox on the new server, the corresponding route should be created: go to SpamExperts Dashboard > Edit Route(s)menu>click Add route and insert the IP address or hostname of the new server your account will be hosted on: 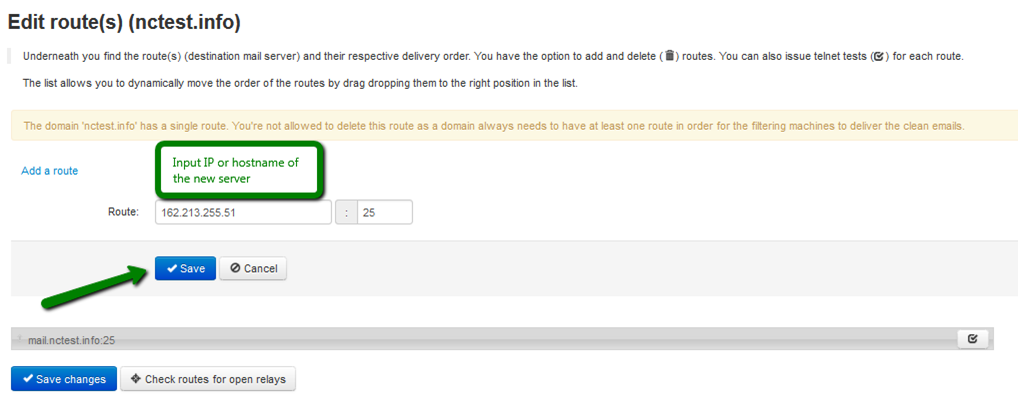
After that you will have two routes that SpamExperts may use (with the old and new destination mail servers). If your new account is already active on the new server, it is recommended to delete the old email route. Also, you will need to check if the correct hostname (IP address) is indicated in email route settings on the new sever.
6. DISABLING SPAMEXPERTS
In case mail should not be routed through SpamExperts filter, you can change MX records for your domain to point to shared server (if you wish to use cPanel Webmail service without SpamExperts) or any other server directly (if you prefer using third-party mail service).
